Hey there! If you’re reading this, chances are you might be dealing with a pesky leaky roof. Don’t worry; we’ve got your back with some easy and affordable temporary fixes to tide you over until you can call in the pros!
Water damage is no joke, and even minor leaks can turn into major headaches if left unchecked. So, it’s essential to take action as soon as possible. While these DIY solutions can help keep things under control for a while, it’s crucial to reach out to a professional roofer for a lasting fix. That way, you can save money and prevent further damage down the road.
Now, let’s dive into the temporary fixes you can try:
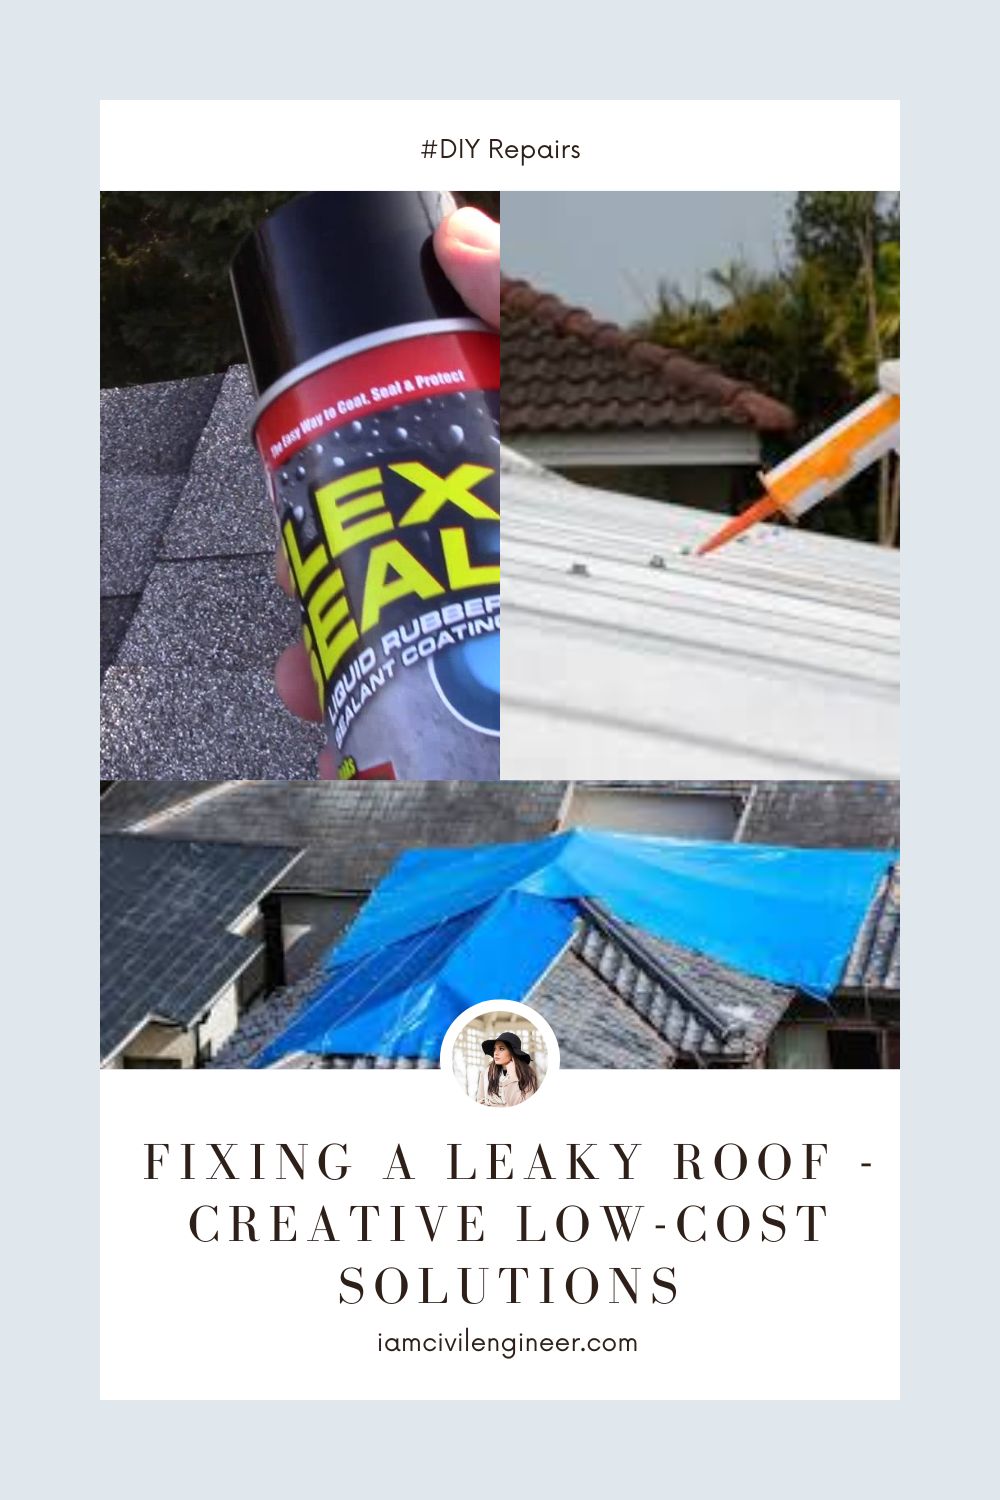

Polyethylene Plastic Sheets – A Quick Cover-Up
Got some holes in your roof? No worries! Grab some sturdy plastic sheets and secure them to the roof with roofing nails. You can also use rocks or bricks to weigh them down. In a pinch, duct tape can help seal small holes and keep the plastic in place. Just remember, this is a temporary fix, so make sure to get that roof repair scheduled ASAP!

Waterproof Tarps – A Classic Solution
The good ol’ waterproof tarp is a reliable option for those leaky spots. Lay it flat against the damaged area and make sure it covers the whole section where the leak is coming from. Nail down the edges or use duct tape to keep it secure. This way, you won’t have to worry about it flying off during the next storm. For added protection, consider using multiple layers of tarps. It’s like giving your roof a cozy blanket!
Tar Paper and Roofing Cement – Adding Extra Defense
Take the DIY game up a notch with tar paper and roofing cement. Spread the tar paper over the damaged area using a caulk gun, putty knife, or trowel. Roofing cement acts as a sealant to keep water out temporarily. You can even add roofing felt on top for an extra layer of protection. Just keep in mind that this fix is not a permanent solution, so plan on getting that professional roof repair done soon.

Patching (or Plugging) – Simple and Safe
If climbing up on the roof isn’t your thing, no worries! You can patch the leak from inside your attic using roofing tape. It’s a safer alternative and will do the job if the rain has stopped. But remember, the adhesive properties of the tape might weaken in heavy rainfall, so it’s not a long-term fix.
Alternatively, you can try plugging the leak using a water and cement-like powder mixture. Pour it into the damaged area, and it’ll dry solid, stopping the water from sneaking in. It’s a temporary measure, though, so be prepared to repeat the process until the pros arrive.
Examine the Damage
As the rain subsides, it’s time to take action. Grab those buckets and empty them as needed. Once the rain has stopped, it’s crucial to dry up any water lingering on your floors, ceilings, and walls. Mold and mildew are not welcome guests, so let’s show them the door! Make an initial assessment of the damage – jot down any affected drywall, furniture, or items.
Like Us on Facebook!
Also Read: How to Spot a roof leak?
Subscribe Us on YouTube!
Use Caulking or Silicone to Stop Leaks
Now, it’s time to roll up your sleeves and get handy. Caulking or silicone can be your trusty sidekick in stopping those leaks in their tracks. Got a small hole in a shingle, flashing, or soffit? Caulking to the rescue! Some roofers also swear by silicone around chimneys to prevent cracks and leaks. It’s a superhero fix for those trouble spots.

Flex Seal – Your Emergency Buddy
When the going gets tough, bring out Flex Seal! This product is a lifesaver in wet and dry emergencies. While not a long-term fix like silicone, it works wonders in a pinch. For smaller holes, apply it directly to the source of the leak. But for larger areas, get creative – combine a tarp with rubber sealant for an airtight solution. Just remember, it might change the color of the material, so use it wisely!
Seal the Walls and Dormers
Here’s a little secret: not all leaks come from the roof! Strong winds can drive water up walls, around windows, and between boards and siding. Dormer walls can be notorious culprits too. Check for old caulk that may have lost its waterproofing and seal those areas up tight.
Also Read: Self Sealing Concrete Using Superabsorbent Polymer
Keep an Eye Out for Brightly Colored Splotches
Remember, while we’re fixing leaks, we don’t want to create new problems. Be mindful of overspraying or using Flex Seal in unintended areas – we don’t want your roof to resemble a vibrant canvas! And if you’re dealing with leaky gutters, Flex Seal can come to the rescue there too!
Plastic Sheeting – A Cheap and Easy Savior
When water starts dripping through that dreaded hole in your roof, look no further than plastic sheeting. It’s a wallet-friendly solution you can find at your local hardware store or even lying around in your storage spaces. Safely climb up (don’t forget sturdy boots and a friend to spot you), and place the plastic sheeting over the hole. Secure it with some heavyweights like bricks, or if it’s a small opening, a trusty roll of duct tape will do the trick.
DIY Patching – A Solid Stopgap
If getting a professional roofer seems like a distant dream, don’t fret. You can do some patching yourself! Plugging, or patching, involves mixing water with a cement-like powder and pouring it into the exposed opening. Head to the nearest home improvement store to pick up this DIY savior. The mixture dries solid, putting a stop to water leakage. Remember, though, this fix is temporary and won’t last forever.
Also Read: Roof Pitch Calculator – Rafter Calculator – Roof pitch to angle convertor
Roofing Tape – A Handy Attic Solution
Another way to tackle gaps or openings is using roofing tape. The best part? You can apply it from the safety of your attic, avoiding any risky rooftop escapades. Apply the roofing tape on the roof’s decking, and it will keep water out, though some may still find its way inside. Just be mindful of the weather conditions, as some tapes and adhesive patches have temperature restrictions.

DIY Shingles – Your Roof’s Impromptu Protector
In a pinch, you can even create makeshift shingles! If you have materials like copper or sheet metal lying around, they can save the day. Cut them to fit the size and shape of the exposed area – it doesn’t have to be perfect, just functional. This hack is perfect for braving severe weather until a professional roofer can work their magic and provide a more permanent solution.

Don’t Go It Alone
When the going gets tough, don’t hesitate to call in the cavalry – professional roofers are here to save the day. They can provide long-term solutions and ensure your roof stays in tip-top shape, protecting your home from future leaks.
Remember, these DIY fixes are your trusty companions until the experts arrive. If you’re unsure or facing a more significant issue, don’t hesitate to call a roofer in Los Gatos. They’ll handle the real deal, ensuring your roof stays sturdy and leak-free for years to come.
So there you have it – your arsenal of quick and affordable fixes to save your roof from pesky leaks. Stay dry and confident, knowing you can handle anything Mother Nature throws your way! Happy roof-saving, my friend!


